
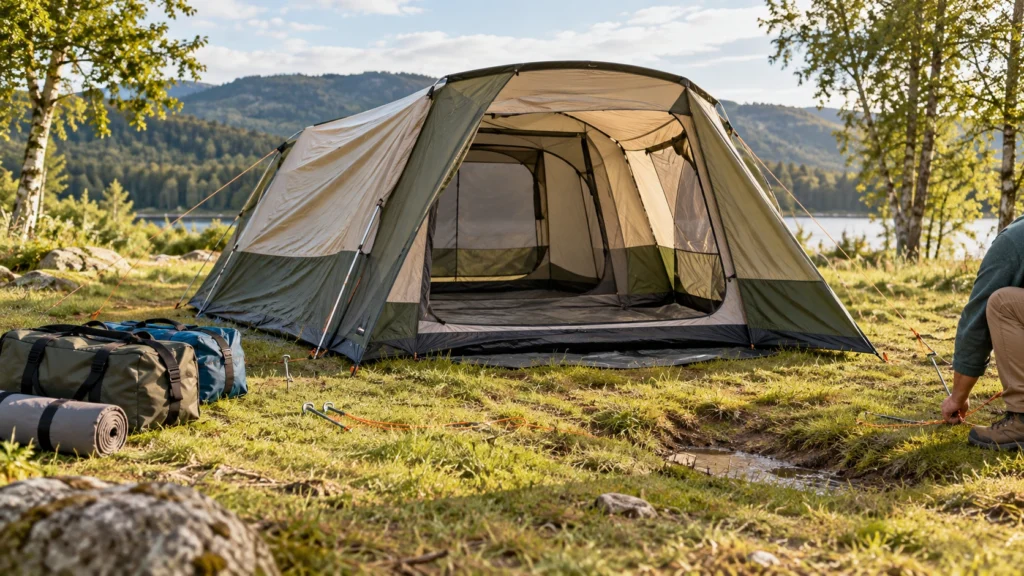
A tent can look nearly finished while hiding the mistakes that make a family camping trip uncomfortable: a door facing the wind, a groundsheet collecting rainwater, or a missing peg discovered at dusk. Taking a few minutes to check the pitch before unpacking everyone’s bags makes the rest of the evening much easier.
Choosing a Pitch Without Looking Closely
The flattest-looking patch of ground is not necessarily the best place for a tent. Check for stones, exposed roots and low spots where water could gather. Stand where the sleeping area will be and look at the slope from several directions. A slight incline that seems harmless while standing can be noticeable when someone tries to sleep on it.
Think about how your family will use the space, too. Leave room to open the entrance fully and move around the tent without stepping on guy lines. If children will need the toilets at night, consider the route before pitching. A convenient path is useful, but placing the door directly beside a busy walkway can mean less privacy and more disturbance.
At a managed campsite, confirm where your allocated pitch begins and follow its spacing rules. The campsite has pitches of different sizes, so the tent and the area needed to secure it should fit within the pitch you are using.
Pitching Before Checking the Weather and Ground
It is tempting to start assembling poles as soon as you arrive, particularly when children are eager to explore. First, notice the wind direction and any signs of damp ground. Tent doors and vents differ by design, so use the manufacturer’s guidance while choosing an orientation that keeps the entrance practical in the expected conditions.
For example, a family might put the door toward the best view, then find that wind drives rain through the entrance whenever someone goes in or out. Turning the tent slightly before pegging it down is far easier than moving it after bedding and bags are inside. Keep drainage in mind as well: avoid shallow hollows, even if the ground feels dry on arrival.
Skipping a Practice Pitch
An unfamiliar tent takes longer to set up than its packed shape suggests. Pole sleeves, clips, flysheet fastenings and guy lines may be easy to identify at home but frustrating to sort out in fading light. A practice pitch helps you learn the sequence and check that the pieces are present.
Before departure, lay out the poles, pegs, flysheet and any separate groundsheet. Check the instructions and inspect the fabric and fastenings for damage. If you are borrowing a tent, this step matters even more: you may not know whether the bag contains everything needed to pitch it.
Getting the Groundsheet and Flysheet Wrong
A separate groundsheet can protect the tent floor, but its edges should not stick out beyond the tent. Exposed material may catch rain and channel water underneath. Fold it inward if necessary, following the tent maker’s instructions for that model.
Likewise, take care when fitting the flysheet. It should sit as designed over the inner tent, with its fastenings attached and its fabric properly tensioned. When the outer fabric presses against the inner wall, moisture is more likely to transfer where the layers touch. Do not try to fix every wrinkle by pulling one corner hard; adjust the pegs and tension gradually around the tent.
Rushing the Pegs and Guy Lines
Pegs do more than keep a tent in place during setup. They help hold its shape when the weather changes. Use the pegging points provided, push pegs firmly into suitable ground, and check that doors still open smoothly once the tent is tensioned. The right approach may vary with the surface and the type of pegs supplied.
Guy lines are easy to overlook on a calm afternoon. Set them up where the tent design calls for them, then adjust them so they support the structure without pulling it out of shape. Keep lines visible and out of the main walking route where possible. For a family returning after dark, a line across the shortest path to the door is a predictable trip hazard.
Recheck the tension later. Fabric and lines can settle after pitching, and a small adjustment may improve the tent’s shape. Avoid tightening them so much that seams or attachment points appear strained.
Filling the Tent Before It Is Ready
Wait until the tent is fully secured before bringing in sleeping bags, clothes, and food. A half-pitched tent is harder to adjust once it is full, and family members moving in and out can get in the way of the final checks. Keep the door area clear while you work.
Once the tent is stable, place sleeping gear away from the walls where space allows. Store shoes and wet items so they do not soak bedding. Decide where torches will go before nightfall, especially if children may need to get up. A simple routine for where things belong prevents the entrance from becoming a pile of bags that everyone has to climb over.
For more detailed information on this topic, read our guide on Sanitary Facilities or Laundry Facilities: Which Matters More?
Forgetting the Final Walk-Around
Before calling the setup finished, walk around the tent together. Check pegs, guy lines, door zips, vents, and the position of the groundsheet. Look inside for fabric touching bedding and make sure the entrance is easy to use. This last check catches small problems while they are still simple to correct.
Good tent setup is less about speed than making a few sound decisions in the right order. Choose the ground carefully, assemble the tent as intended, secure it properly and only then move the family’s belongings inside. Those steps leave more time to enjoy the camping trip—and fewer reasons to redo the pitch after dark.